A Step-by-Step Guide to Filling Your Vaporesso Luxe XR Pod
A Step-by-Step Guide to Filling Your Vaporesso Luxe XR Pod
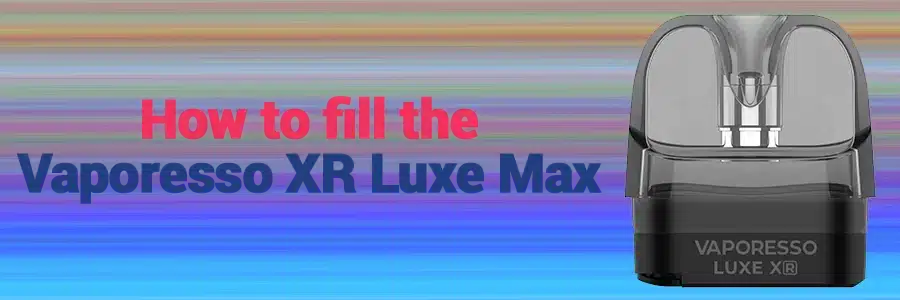
The Vaporesso Luxe XR Max Vape Kit has undoubtedly caught the attention of vapers with its sleek design, versatile features, and remarkable performance. One of the standout components of this kit is the Luxe XR Pod, which seamlessly combines tank functionality with pod convenience. If you’re new to this device or simply seeking guidance on how to properly fill the Luxe XR Pod, you’re in the right place. In this step-by-step guide, we’ll walk you through the process of filling your Vaporesso Luxe XR Pod, ensuring you get the most out of your vaping experience.
Step 1: Gather Your Materials
Before you start, make sure you have everything you need: your Vaporesso Luxe XR Pod, your preferred e-liquid, and a clean and dry workspace. Having a paper towel or tissue on hand is also a good idea to wipe up any potential spills.
Step 2: Remove the Pod
Start by removing the Luxe XR Pod from the device. You can do this by firmly gripping the pod and gently pulling it out from the mod. Set the device aside for now.
Step 3: Locate the Fill Port
Flip the pod over to the side where you can see the bottom. Look for the fill port – a small rubber plug that seals the pod to prevent leakage.
Step 4: Open the Fill Port
Using your fingernail or a small tool, carefully lift the rubber plug from the fill port. Be cautious not to damage or lose the plug, as you’ll need it to seal the pod after filling.
Step 5: Fill the Pod
With the fill port open, it’s time to add your e-liquid. Hold the pod at a slight angle and start pouring your e-liquid into the pod’s reservoir. Take your time and avoid overfilling, as this can lead to leaks.
Step 6: Seal the Fill Port
Once you’ve filled the pod with your desired amount of e-liquid, gently press the rubber plug back into the fill port. Make sure it’s snugly in place to prevent any leakage.
Step 7: Let It Sit
After sealing the fill port, give the e-liquid a few moments to settle. This helps avoid any potential flooding of the coil.
Step 8: Reattach the Pod
Slide the filled pod back into the Luxe XR Max device. Ensure that it fits snugly and securely.
Step 9: Prime the Coil
Finally, if you’ve installed a new coil or are using a freshly filled pod, it’s a good idea to prime the coil. To do this, take a few quick inhales without firing the device. This helps saturate the coil with e-liquid and prevents dry hits.
Step 10: Start Vaping
Congratulations, you’re all set! You’ve completed the task of filling your Vaporesso Luxe XR pod and you’re ready to enjoy a satisfying vaping experience. Take a gentle inhale, press the fire button, and savour the flavour and vapour production that the Luxe XR Max has to offer.
By following these simple steps, you’ll ensure that your Luxe XR Pod is filled correctly and that you get the most out of your vaping sessions. Remember, proper maintenance and care go a long way in prolonging the lifespan of your pod and providing you with consistent and undoubtedly enjoyable vaping moments.





Leave a Reply
You must be logged in to post a comment.